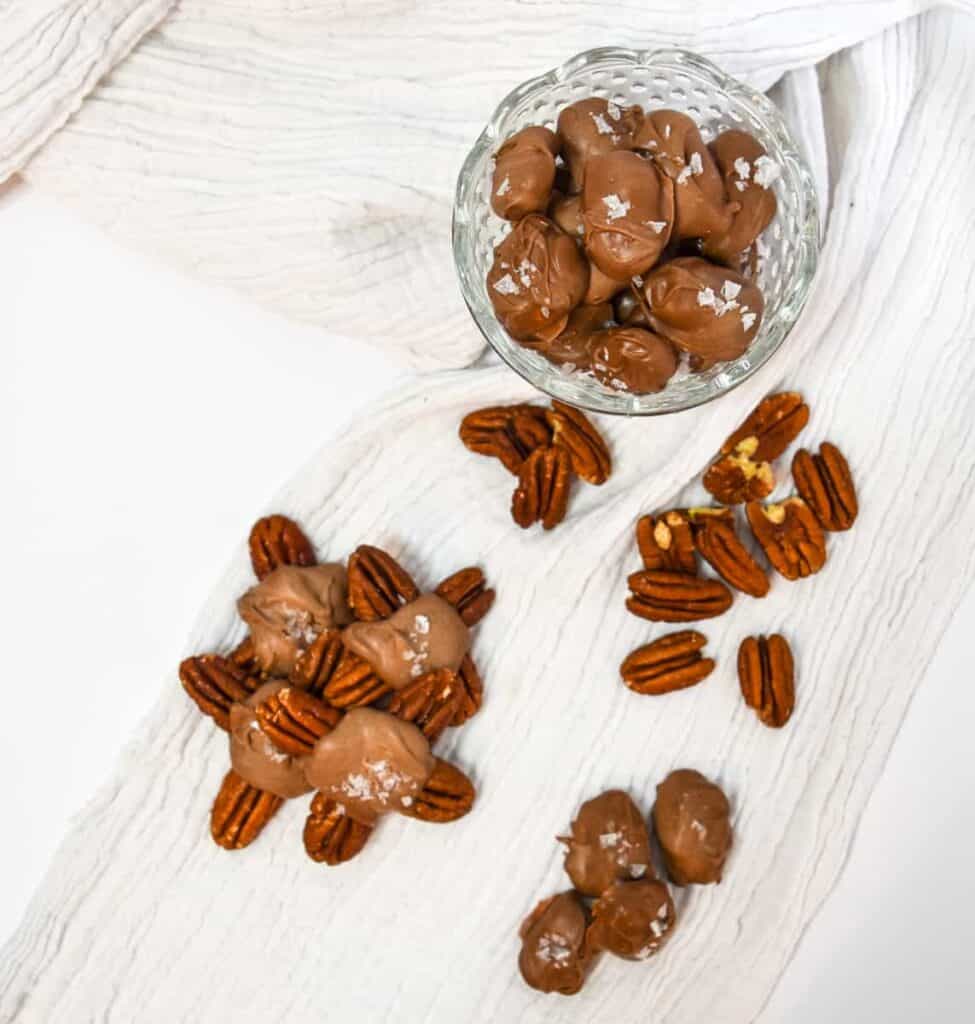
A quick and easy snack - these chocolate covered pecans with a touch of sea salt are the perfect nutty bite! Great as a homemade gift, a make ahead party snack or an afternoon pick-me-up.
Chocolate Covered Nuts
Chocolate covered nuts are such a fun and easy treat, with essentially limitless potential. You can dip any nut (pecan, walnut, almond, etc.) in your choice of chocolate (dark, milk, white, rose). To make the simplest and most basic version, you will only need two ingredients:
- Nuts - these should be shelled nuts, either whole or halved dependent on the type being used, and unsalted.
- Chocolate - always use a good quality chocolate, especially for dipping! This should be finely chopped or in chips.
For my recipe (and in my opinion, the ultimate chocolate covered nuts), I also do recommend using a third ingredient: flaked sea salt, but this is entirely optional. Sea salt adds a bit of a bite and helps to accentuate the chocolate and nut flavours.
Preparing the Pecans
Why Toast Nuts?
So the first step in my easy chocolate covered pecans is to toast your pecans.
I'd suggest you toast any nut prior to coating in chocolate. There are a couple of reasons for this:
- Toasting helps to remove excess moisture. Moisture and chocolate don't tend to mix well, so toasting the nuts will help your chocolate covered snacks to last longer and stay fresh and crisp.
- The process of toasting also enhances the flavour of the nuts. You'll be able to smell the nuttiness quickly once you begin toasting!
Two Ways to Toast Pecans
There are two ways to toast nuts, one is on the stovetop and the second is in the oven. I personally prefer the oven method, but both are very quick and straightforward.
1. Stovetop Toasting Method
For the stovetop toasting method, place the pecans in a dry shallow frying pan. You do not need any oil or butter. Nuts are full of their own oils, so these will not stick to your pan.
These should be in a single layer over the bottom of the pan - don't overfill this. If you are needing to toast more nuts than will fit in your frying pan, either do this in the oven (a baking sheet may give you a larger area for toasting at once), or toast in batches.
Place the frying pan over a medium heat for about 5 minutes, shuffling the nuts about occasionally. This will help to ensure that they are all getting sufficient toasting on top and bottom. Don't leave your pan unattended as nuts can catch and burn quickly.
You will know these are ready when you smell the nutty aroma and they begin to darken a bit. Remove before any start to char!
2. Oven Toasting Method
The oven method for toasting nuts is even simpler! Spread your nuts in a single layer across a baking sheet and place in a 350°F (175C/155C Fan) oven for about 7 minutes.
Again, take care not to leave the nuts unattended as they can begin to burn quickly. Similar signs, such as darkening and aroma will help you tell they are done.


Cool the Nuts
Whichever way you've chosen to toast your nuts, it is best to allow these to cool completely before coating in chocolate.
Melting Chocolate for Coating Pecans
Preparing chocolate for coating pecans is best done in a double boiler. I always make a DIY version, using a heatproof bowl and a small saucepan of simmering water.
Ensure that your bowl fits snuggly over the saucepan, without sitting too far into the pan. You do not want the simmering water to touch the bottom of the bowl.
Reserve a small handful of chocolate (between .5 and 1 ounce) - set this aside. Place the remaining chopped chocolate in the heatproof bowl.
Keep the water simmering over a low heat, while you stir the chocolate until this has melted and is smooth. Once melted, remove from the bowl from the saucepan and add the remaining chocolate. Stir until melted.
This addition of extra chocolate will work to quick temper the chocolate, reducing the temperature quickly and making for a thicker molten mixture, more easy to handle for coating the nuts.


Process for Coating Chocolate Pecans
You can use the molten chocolate to coat nuts in various ways. Some ideas:
- Dip pecans halfway for a touch of chocolate.
- Drizzle chocolate over pecans.
- Place a few pecans together and dollop a bit of chocolate to connect the tips of these.
- Coat the whole pecan in chocolate
Step by Step for Full Chocolate Pecan Coating
An easy way to handle pecans in order to coat these top and bottom is to use a fork along with either a spatula or table knife.
- Holding a pecan on a fork, dip this into the melted chocolate.
- Using the spatula to assist, roll the pecan to coat entirely in chocolate and then lift out with the fork.
- Allow chocolate to drip off between the prongs of the fork and scrape excess away with the spatula or knife.
- Place the coated pecan on parchment paper (or a silicone mat) to dry.
Optional: sprinkle a bit of flaked sea salt onto the chocolate while this is still setting so that this will stick.


FAQs for Chocolate Pecans
Chocolate covered nuts, such as these pecans, can keep for ages! They're at their freshest during the first few days after dipping in the chocolate. While the coating may dull a bit (particularly in humid climates), they remain tasty for weeks.
Yes, chocolate covered pecans can be frozen. If you intend to freeze these I would not recommend adding the salt flakes as the condensation from defrosting may cause this to melt.
No! Don't try to use standard fine grained table salt on these. They will be far too salty! You want to use a flaked sea salt, such as Maldon Sea Salt.
You can use whatever chocolate you like best! Dark, milk, white or even rose - this is entirely up to your preference.
The measurements and suggestion to reserve some for melting at the later stage will remain.
The time it takes in order to melt will vary, in part depending on the type of chocolate you use (normally milk chocolate melts more quickly than dark). And the setting times may also vary slightly.
If you like this recipe, try some other pecan bakes:
- Pumpkin Cheesecake with Candied Pecan Trim
- Maple Pecan Eclairs
- Super Indulgent Chocolate Tarts with Pecan Brittle
- Pumpkin Pecan Bread

Chocolate Pecans
Ingredients
- ¾ cup pecan halves
- 10 oz chocolate, finely chopped
- flaked sea salt
Instructions
- First toast your pecans. This can be done in a shallow frying pan or in the oven. If using a frying pan, place the pecans in the dry pan, over a medium heat and dry fry for about 5 minutes until aromatic and starting to lightly darken. If using the oven, spread the pecans out in a single layer on a baking sheet. Place this in a 350°F (175C/155C Fan) oven for about 7 minutes, again until darkening and aromatic. Remove from the heat and allow to cool completely (about 30 minutes).
- Once the pecans are cool, prepare your chocolate for dipping. Place 9 ounces of the chopped chocolate in a small heat proof bowl, fitting snuggly over a saucepan of simmering water (a DIY double boiler). Continue simmering the water, ensuring this never touches the bottom of the bowl. Stir the chocolate until this is melted and smooth.
- Remove the bowl from the saucepan and add the reserved 1 ounce of chocolate. Stir this until smooth.
- Dip your pecans into the chocolate using a fork to help allow excess chocolate to drip off. Place the dipped pecans on a piece of parchment paper or a silicone baking mat.
- Sprinkle with a bit of sea salt and allow to set for about 3 hours.


Leave a Reply