If you are a pistachio lover like me, this easy homemade pistachio paste is a must! A pure pistachio spread, this easy recipe is free from refined sugars and full of flavour.

Jump to:
What is Pistachio Paste?
Pistachio paste is simply a nut butter - a spreadable paste made from a pureed nut. This is sometimes referred to as pistachio cream or pistachio butter. The difference between these is often down to processing.
My easy homemade pistachio paste is made using only pistachios and a bit of honey. You may find other recipes calling for other ingredients, such as additional sugars or oils.
Top Tips
Homemade pistachio paste is much like any other nut paste. The key is in puréeing the nuts into a butter like peanut butter. There are a couple of tips and tricks for helping you achieve a nice smooth spread:
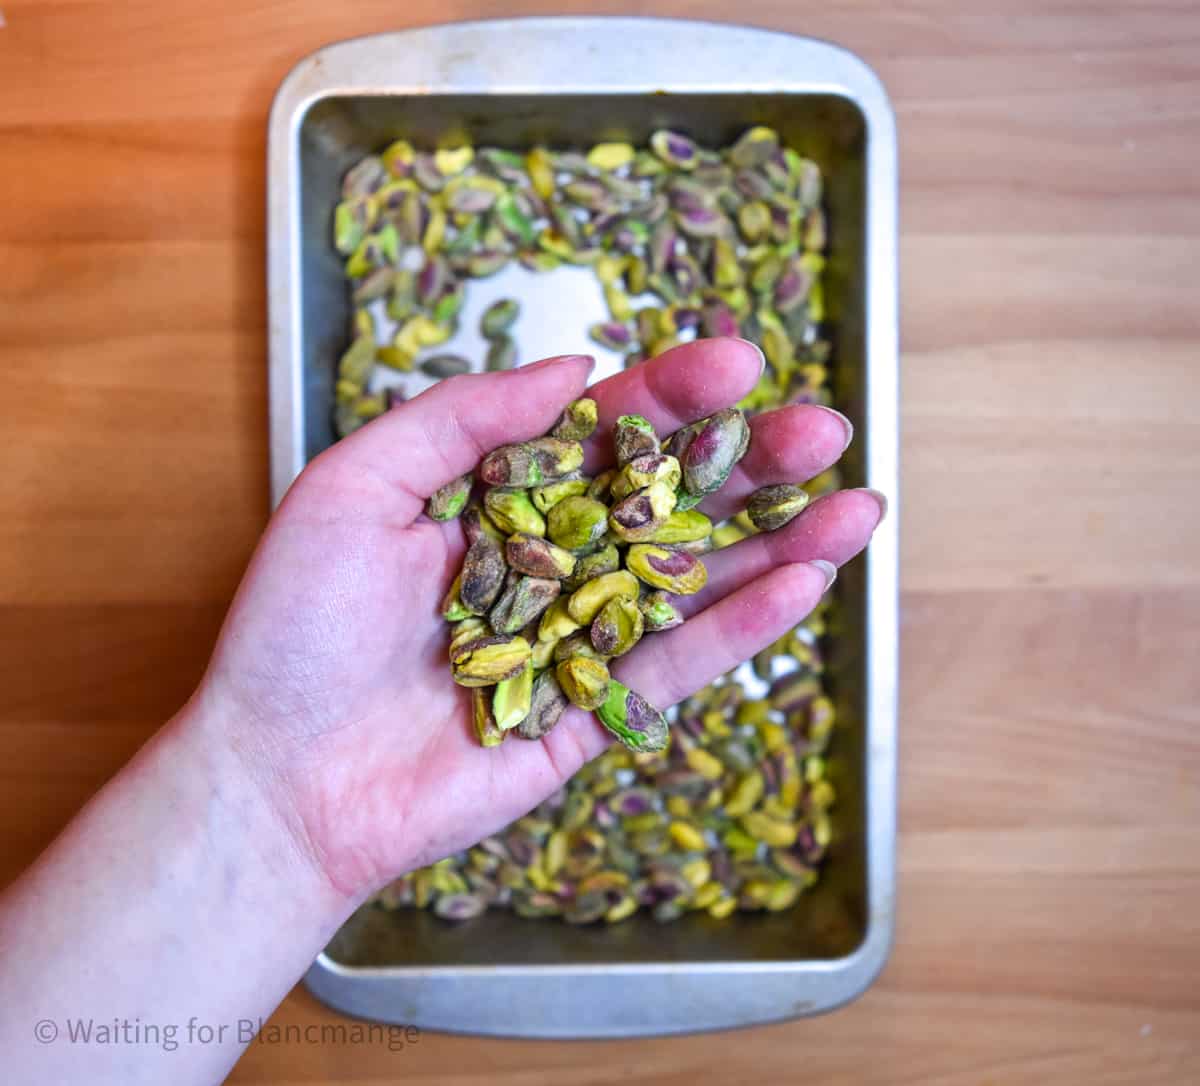
1. Toast the pistachios first
Lightly roasting your nuts prior to processing them will help to release oils. This makes the puréeing easier and also accentuates the natural flavours of the nut.
2. Use a little sweetener
Many recipes will call for sugar, I suggest using honey. This means that the paste is free from refined sugars and lightly sweetened. It also adds a touch of additional moisture to help the puréeing along.
You don't want to add much though, to maintain the pure pistachio paste.
3. Don't give up on the processing!
Making nut pastes can sometimes be daunting because you will need to keep processing these for longer than you may be used to in your food processor. For instance, this pistachio paste took about 30 minutes to reach a nice creamy consistency.
You can stop the food processor early, but you will have a more chalky and gritty paste rather than a spread. It is still usable in many recipes, but will not blend as nicely.
My main recommendation: keep going until its smooth! It will get there, just give it time.
Ingredients
For my recipe, you will only need two ingredients:
- Pistachios - use shelled, unsalted pistachios.
- Honey

Two Step Process
The process for making my easy pistachio spread is fundamentally 2 steps:
- Toast the nuts
- Process in a food processor
Begin by lightly roasting your pistachios in a 350°F (175C/155C Fan) preheated oven for about 8 minutes. To ensure a nice even toasting, spread these in a single layer over a baking sheet and stir halfway through the baking.
Next, once the nuts have toasted a bit, place these in a food processor along with your honey.

Start by pulsing this a couple of times to begin breaking the nuts down and then process on high until you have a paste. Stop every 5-10 minutes to scrape down the sides of the bowl if this is becoming coated in pistachio crumbs.

After about 25 or 30 minutes, dependent on your food processor, you should reach a smooth nut paste.
Spoon this into a bowl or jar and store in the refrigerator. This recipe makes enough for about 1 cup of pistachio paste, which will fit in an 8oz/half pint or 240ml jar.

Ideas for Using Pistachio Paste
There are many uses for pistachio paste! Some ideas to try out:
- Pistachio Ice Cream - you can use pistachio paste with any standard ice cream base (traditional or no churn) to create pistachio ice cream.
- Pistachio Cake - try adding a tablespoon or two of pistachio paste to my Grandma's Thrifty Pound Cake recipe for an easy pistachio cake.
- Add a tablespoon of the paste to my classic vanilla pastry cream and use in a tart of eclair. Or make a pistachio buttercream, by adding a few teaspoons to my easy American Buttercream recipe, to taste.
- Simply spread it on toast or eat with scones.
My Recipes Using Pistachio Spread
Here is a small selection of recipes where I've used this paste:
FAQs
Pistachio paste is best stored in the refrigerator and can keep for several weeks. I have been known to continue using it for a few months, but it does loose some of its freshness the longer it is left.
Yes, as a general rule you can freeze nut pastes, including this pistachio spread. This, however, will not normally extend their shelf-life beyond keeping them in the refrigerator as the pastes keep so well.
While toasting the nuts before puréeing is recommended, it is not strictly necessary. You will still be able to achieve a nut paste without this step, but toasting does enhance the final flavour and will help unlock the natural oils - making the process easier.
Yes, if you would prefer not to use any sugars in the pistachio paste, you can omit the honey.

If you like this recipe, you might also like:
- Pistachio and Cardamom Challah Buns
- Coconut and Pistachio Mini Battenberg Cakes
- Maple Pecan Praline Paste and Eclairs

Homemade Pistachio Spread
Equipment
- Food processor
Ingredients
- 2 cups pistachios, shelled and unsalted
- 1½ tablespoon honey
Instructions
- Preheat an oven to 350°F (175C/155C Fan) and spread the pistachios on a baking tray. Roast these lightly in the oven for about 8 minutes to help release their oils.
- Remove the pistachios from the oven and add to a foo processor along with 1½ tablespoons of honey.
- Blend in the food processor until nuts have broken down into a paste. To get a nice smooth paste, this will take time - about 25-30 minutes on high (dependent on your food processor). Stop the machine every 5 minutes to scrape down the sides and check progress, until you reach your desired consistency.
- Once you've achieved a spreadable paste, remove from the food processor and spoon into a bowl or jar.


Angela
I have a lot of Pistachio "flour" from sifting my chopped nuts for cookies. Do you think I could make the paste with that?
Liz Mincin
Hi Angela - that's a great question! This will depend a bit on your food processor. The timings will likely vary, but it should still work as you're still using pure pistachio nuts, just ones that have been chopped super fine already. The friction required to get the paste to form might just be a bit more difficult to reach if your food processor blade sits too high in the machine (I find mine can be difficult to break down things that are already small). Let me know how it goes!